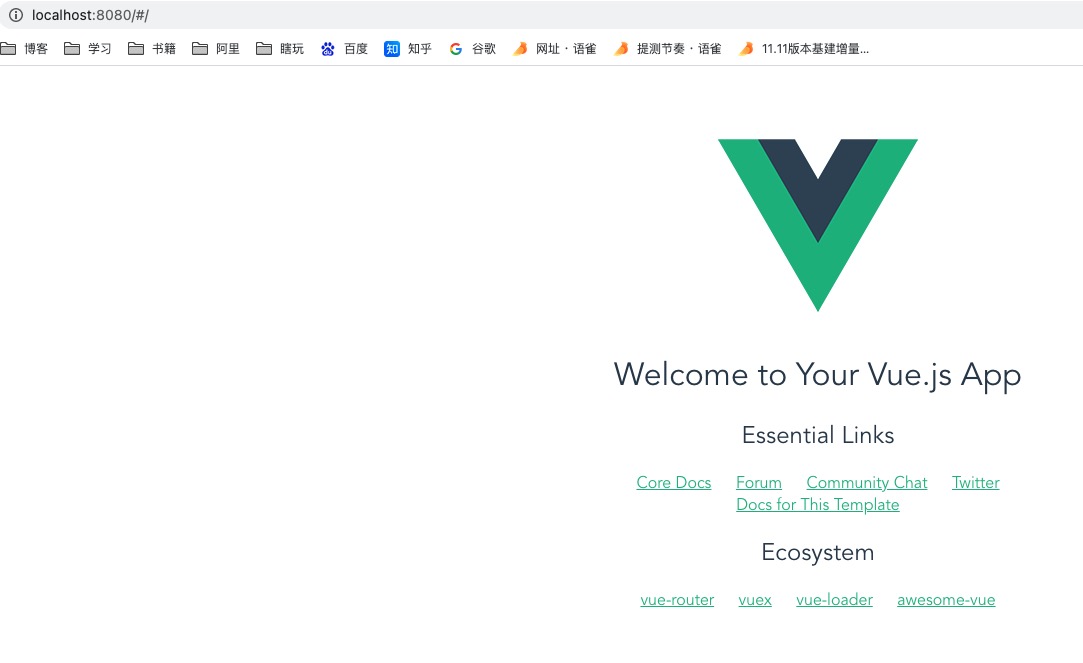
安装
1
2
3
4
5
6
7
| npm install --global vue-cli
vue init webpack wuxing-client
cd wuxing-client
npm run dev
|
默认是使用的8080端口,直接访问 http://localhost:8080 即可

项目结构
1
2
3
4
5
6
7
8
9
10
11
12
13
14
15
16
17
18
19
20
21
22
23
24
25
26
27
28
| ├── README.md
├── build
│ ├── build.js
│ ├── check-versions.js
│ ├── logo.png
│ ├── utils.js
│ ├── vue-loader.conf.js
│ ├── webpack.base.conf.js
│ ├── webpack.dev.conf.js
│ └── webpack.prod.conf.js
├── config
├── node_modules
│ ├── dev.env.js
│ ├── index.js
│ └── prod.env.js
├── index.html
├── package-lock.json
├── package.json
├── src
│ ├── App.vue
│ ├── assets
│ │ └── logo.png
│ ├── components
│ │ └── HelloWorld.vue
│ ├── main.js
│ └── router
│ └── index.js
└── static
|
- build和config 为webpack 编译时使用的脚本
- node_modules 为依赖包
- src 项目目录
- package.json
main.js
1
2
3
4
5
6
7
8
9
10
11
12
13
| import Vue from 'vue'
import App from './App'
import router from './router'
Vue.config.productionTip = false
new Vue({
el: '#app',
router,
components: { App },
template: '<App/>'
})
|
- el为绑定到dom id=’app’节点
- router为路由
- components 为注册组件
- template 为模版,这里直接使用了注册的组件
App.vue
1
2
3
4
5
6
7
8
9
10
11
12
13
14
15
16
17
18
19
20
21
22
23
| <template>
<div id="app">
<img src="./assets/logo.png">
<router-view/>
</div>
</template>
<script>
export default {
name: 'App'
}
</script>
<style>
#app {
font-family: 'Avenir', Helvetica, Arial, sans-serif;
-webkit-font-smoothing: antialiased;
-moz-osx-font-smoothing: grayscale;
text-align: center;
color: #2c3e50;
margin-top: 60px;
}
</style>
|
- template 为组件模版
- script中表示导出
- style为样式
这里有一个 ,我并不是很了解,但应该是根据router中配置的路径来加载不同的页面
router/index.js
1
2
3
4
5
6
7
8
9
10
11
12
13
14
15
| import Vue from 'vue'
import Router from 'vue-router'
import HelloWorld from '@/components/HelloWorld'
Vue.use(Router)
export default new Router({
routes: [
{
path: '/',
name: 'HelloWorld',
component: HelloWorld
}
]
})
|
这里配置了路由,如果访问路径为 localhost:8080/,则跳转到 HelloWorld.vue
生命周期

这里有一个细节,el和mount 是等效的。
- beforeCreate
- created
- beforeMount
- mounted
- beforeUpdate
- updated
- beforeDestroy
- destroyed
数据绑定
1
| <span>Message: {{ msg }}</span>
|
v-once 只执行一次刷行,多次刷新是会影响内部节点的刷新
1
| <span v-once>这个将不会改变: {{ msg }}</span>
|
rawHtml为html格式时,使用下列方式
1
| <p>Using v-html directive: <span v-html="rawHtml"></span></p>
|
Attribute
1
2
| <div v-bind:id="dynamicId"></div>
<button v-bind:disabled="isButtonDisabled">Button</button>
|

